


- 1. DIY Manicure: How to Begin
- 2. Russian vs European Manicure: What’s the Difference?
- 3. Step-By-Step Manicure at Home
- 4. Step-By-Step Gel Manicure at Home
- 5. Nail Designs at Home
Doing your manicure at home helps to save your money and time and lets you get a taste of artistic freedom. It only seems difficult. All you need is just a set of basic tools and products, some knowledge of the procedure, and a little confidence. Confidence is on you, and theYou is here to provide you with the rest.
DIY Manicure: How to Begin
Before getting down to your at-home manicure sessions, you should buy the necessary tools. We recommend sparing no expense, because a high-quality manicure kit will serve you for decades and professional cosmetic products will keep your nails healthy.
Your manicure kit should contain:
- polish remover (for ordinary polish or gel polish);
- cotton pads or lint-free tissues, foil for wrapping nails;
- nail scissors and clippers;
- a pusher and an orange stick for nails;
- cuticle remover;
- a nail file;
- a nail buffer;
- a base coat;
- hand cream.

This is a basic set if you want to learn to do manicures at home. Of course, in the future, you might want to expand your collection and buy more complex tools like a rotary file or a lamp for gel polish.
Important! Make sure that all your tools are sterile! You can sanitize them with chlorhexidine, alcohol, or other sanitizing agents.
Russian vs European Manicure: What’s the Difference?
Before you start learning how to do a simple manicure yourself, let’s talk about different approaches to cutting cuticles.
A Russian manicure provides for cutting dead skin around the nails with special scissors. This is a classic method of treating cuticles, however, it poses a risk of damaging the skin or getting an infection. Plus, in time the skin becomes rougher due to this procedure. People with diabetes or nail diseases are not recommended doing this.
A European manicure is getting more and more popular thanks to its gentle effect - cuticles remain thin and soft, preserving the overall neat and beautiful look of the nails. In this approach, a special softening product - remover - is used instead of a sharp tool. Cuticles are treated with remover and then pushed back with an orange stick or a metallic pusher. Some nail technicians recommend using a ceramic hoof stick to get rid of dead skin.
A European manicure is a fitting option for those who want to know how to do manicures at home.
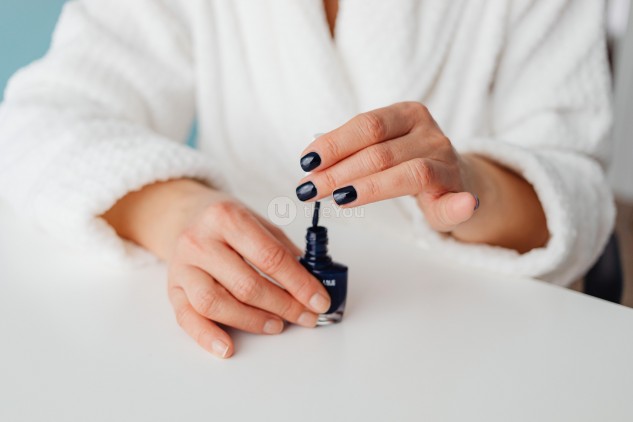
Step-By-Step Manicure at Home
Have you prepared the necessary products and sterile tools? Turned on the lights? Then let’s get started.
Cleaning Your Nails
First, dip a cotton pad or a tissue in nail polish remover and run it over every nail. If you are removing gel polish, wrap the pad around the nail, put it in foil, and let it sit until the gel polish starts peeling off. However, this method is rather damaging to the nails. If you have a rotary file, carefully remove the polish with it. Or turn to a professional nail technician for help.
Adjusting the Length
Next, shorten the nails with nail scissors or clippers. To avoid ingrown nails or deformations, pay attention to the following aspects:
- Nail clippers are used for hard nails, while nail scissors are better for soft nails.
- The edges of the nails should be slightly rounded to prevent ingrowth.
- Do not clip the entire free edge of the nail to avoid infections. Always leave a thin stripe of the free edge.
- After clipping or cutting the nails, file them.

Improving the Shape
To give your nails your favorite shape at home, you’ll need a file. You can choose a ceramic, glass, cardboard, or metallic file.
Important! You should file only dry nails. Filing wet nails (for example, after a shower) can result in peeling.
A ceramic file is convenient as it does not damage brittle nails and is easy to wash. A file from this material helps to seal the edges of the nails that are prone to peeling. A cardboard file suits everyone but has a short lifespan. Metallic files are the coarsest ones and are rarely used for fear of damaging the nail plate. The coarseness of nail files is measured in grits. For a DIY manicure, choose a 240-280 grit file.
Specialist’s tip: It is important to give the same length and shape to all nails for your manicure to look neat. Nail technicians usually take the index or middle finger as a model.

When you are planning to do your nails yourself, think about what shape you want to give them. Let’s look at some popular shapes:
- Round. This is a perfect shape for massive fingers and short nails. It will also suit those who work with their hands as round nails are stronger.
- Oval. The oval shape is a versatile option that flatters slender and plump fingers alike. Plus, oval nails are as strong as round ones.
- Square. The square shape suits nails that are square around the roots. In day-to-day life, nails of this shape require careful maintenance as they break easily.
- Almond. Almond-shaped nails look great on long thin fingers, but they are more fragile than nails of other shapes.
Specialist’s tip: When you are adjusting the shape of your nails, don’t file back and forth - file only in one direction to prevent your nails from peeling.
Polishing Nails
Finally, polish the edges and the surface of the nail plates with a 280-320 grit buffer.
Treating Cuticles
A beautiful at-home manicure is impossible without careful treatment of cuticles, which is important for healthy nails and a neat look.
Specialists recommend following the steps of the procedure in the proper order:
- push back the cuticles with a metallic pusher or an orange stick;
- apply remover containing keratolytic on the roots of your nails;
- push back the cuticles again, but be careful not to apply too much pressure on the nail plate.
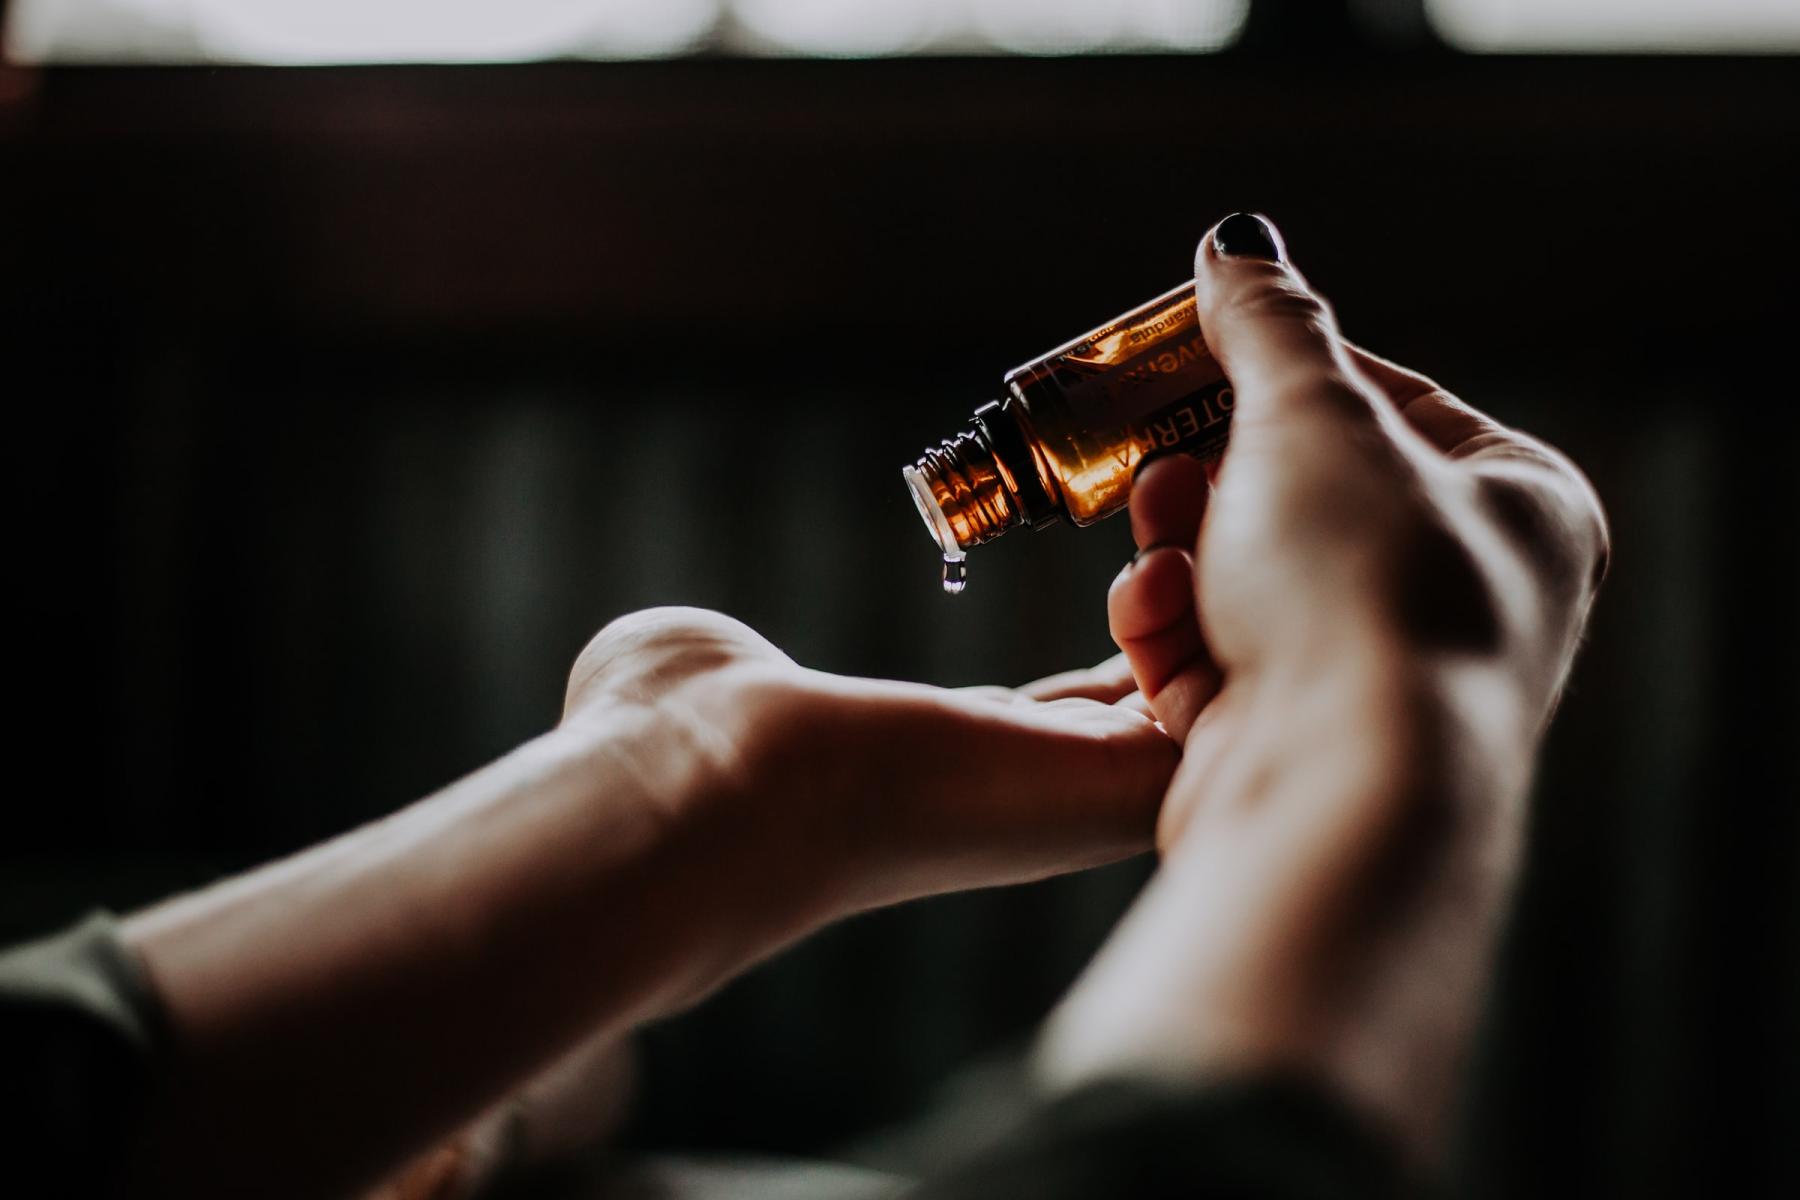
Moisturizing the Skin
The final stage of a European manicure is to apply softening hand cream. Spread it and rub it into the skin with gentle massaging movements until it is fully absorbed.
Step-By-Step Gel Manicure at Home
So, you have prepared your nails and now they are ready for any artistic experiments. You can apply ordinary nail polish, secure it with a finish - and voila, your simple DIY manicure is finished! However, such a coating does not last long and requires frequent touch ups. Let’s go further and learn how to do gel nails at home.
To do gel nails yourself, you will also need:
- an LED or UV lamp to let gel dry;
- a primer to remove grease from nail plates;
- a base coat to make the nail surface smooth;
- gel polish of your preferred color;
- a topcoat to secure the color coating.

Do you already have everything at hand? Then feel free to follow our instructions carefully to see for yourselves that a beautiful salon-quality manicure can be done at home.
Let’s dive right into it.
- Apply primer to your prepped buffed nails and let it dry.
- Apply a base coating and let it dry under the lamp for 30-60 seconds. Start with your index, middle, ring, and little fingers and place them under the lamp together. Then repeat the process with the thumbs. The procedure for the color coating is the same.
- Apply one thin coating of colored gel polish and let it dry under the lamp. Repeat the process. For smooth application, make the strokes in the proper order: move the brush from the root to the tip, then again in an arc to the side edge of the nail on one side and then one on the other.
- Apply a topcoat to the entire nail plate and put the nails under the lamp again.
- To lock the manicure in place, repeat the drying process for each hand separately once again, placing the entire hand under the lamp. After that, treat your skin and nails with oil or cream and gently rub it in until full absorption.

Nail Designs at Home
After you have learned to do gel nails at home, you are ready to move on to something more difficult - nail art. Let’s look at some options you could start with.
French Manicure
French nails are an ever-popular trend. A French manicure is extremely versatile: it suits any shape of the nails, any look, and any occasion.
How to do French nails at home? Here are two easy ways.


Stencils
- Apply the main color of your French manicure to the nails and let it dry under the lamp;
- Attach the stencils to your nails, leaving the free edge empty. Paint the tips with a contrasting color (white if you are keeping it classic), then carefully remove the stencils;
- After letting the nails dry, apply a topcoat and put the nails under the lamp again.
Freehand
- Apply a coating with the main color of your French manicure and wait for it to dry under the lamp;
- Paint contrasting arcs along the tips and let them dry again.
- Apply the topcoat - and under the lamp they go again.
Moon Manicure
A distinct feature of this design is that a contrasting accent is placed not on the tips, but on the lunules of the nail. The procedure is similar to that of the French manicure. You can choose any color scheme: from similar pastel shades to bright contrasting colors.
Specialist’s tip: It’s hard to make tips in the French manicure or lunules in the moon manicure clean. For a better result, place dots from the center of a future arc to the sides and carefully connect them into a single line.
Designs with Stones
You can get a stunning nail design at home even if you don’t have any artistic talent. All you need is rhinestones, beads, pearls, and some imagination.

Here is what you should keep in mind:
- Small rhinestones and ready-made applications from metal or plastic should be applied over a fresh color coating.
- Middle-sized gems and rhinestones should be secured on drops of transparent polish on a dry color base.
- If you want to go for large decorative elements, you’ll need special glue.
- Secure the coating with accessories with a topcoat.
It’s convenient to apply small elements to nails with a toothpick and larger ones with tweezers. If your design features large elements, apply two topcoats to prevent the accessories from falling out.
Velvet Sand Coating
The main advantages of velvet sand for nails is easiness of application and possibility to create designs in one color or with patterns.
Here’s how you should work with sand:
- Sprinkle some sand on top of a finish and press it in with a finger for better fixation, then let it dry under the lamp.
- Sweep the remaining sand particles away with a brush.
You can use sand to make patterns, vertical or horizontal stripes.
Ombre Nails
Eye-catching color transitions on nails are one of the trendiest designs in the world of nail art.


In salons, nail artists usually use special tools to spray polish onto nails. However, you can do this nail art at home yourself. You will need a few shades of polish and a sponge.
Here’s how to do ombre nails:
- Apply a base, then the main color, and wait for it to dry under the lamp;
- Take a small sponge and paint several contrasting stripes on it, then softly press it onto the nail;
- Secure the design with a topcoat.
Another stunning idea is to make a gradient on all the nails, making a transition from a darker to a lighter shade of the same nail polish color.
Here’s a tutorial for ombre nails on the entire hand:
- Paint the nail on the thumb with the chosen bright polish;
- Make four drops of the same polish on any smooth surface and add white polish to them, increasing the amount of white with each drop. As a result, you will get a gradient from a bright tone to a pastel one.
- Apply the mixed polish on the nails in the right order from the index finger to the pinkie, letting the polish dry under the lamp;
- Secure the design with a topcoat.
Nail Art with Pictures
Let’s talk about how to do nail designs with pictures at home if you do not have artistic talent. There are options that you can easily master yourself.
- Freehand painting. This is a first-class skill of nail artists, however, even professionals started with simple patterns. Why don’t you give it a try? You will need a thin brush or a special tool called a dotter.
- Stamping. First, cover the chosen picture with polish, then stamp it onto the nail plate.
Specialist’s tip: When you are learning to paint on your nails, you can use improvised tools. A special paint brush for nails can be substituted with an old eyeliner brush and a ballpoint pen or an orange stick can make a nice alternative to a dotter. To make your lines straight, you can start with outlining the picture with dots and then carefully connect them to get a finished image.


Paint a picture on a dry color coating, let it lock in under the lamp, and cover it with a topcoat.
Newspaper Nail Art
This is an unusual design that might seem difficult. However, that’s not true and you can easily recreate this nail art at home. To bring the look to life, you’ll need a light shade of gel polish and 3x3cm pieces of a newspaper.
- Apply a base coat and let it dry.
- Cover your nails with newspaper pieces and press cotton pads dipped in alcohol to them.
- Remove the pads and peel off the newspaper to reveal the letters imprinted on the nails.
- Finish with a topcoat and let the design dry.
You can also imitate this design with the help of special stickers, kami fubuki, or decals. They are applied on a base and secured with a topcoat.

If you have decided to learn to do manicures at home, do not give up straight away - remember, practice makes perfect. Soon you will master various nail art techniques and will stun onlookers with your original nail designs. Plus, you will stop being dependent on the schedule of salons and will save some money. Sounds nice, right? Then go to the theYou gallery and choose your favorite designs!

to leave a comment
Log in